Building a new home in King George should feel exciting, not stressful. Still, walkthroughs can be a lot to manage, and you want everything done right before drywall goes up and before you get the keys. This guide shows you exactly what to look for at pre-drywall and final walkthroughs, how to handle punch-list items, and how to protect your warranty. You will also find local context so you know what applies in King George County. Let’s dive in.
What to expect in King George County
Your builder must follow the Virginia Uniform Statewide Building Code, which implements the International Residential Code. You can review the current standards through the Virginia Department of Housing and Community Development’s page on the Virginia Uniform Statewide Building Code. County inspections are scheduled by the builder through the local office. For contacts and procedures, visit King George County’s site and ask your builder which county inspections are planned and when you can visit the site.
King George’s humid subtropical climate brings hot summers and cool winters. Good drainage, roof performance, flashing, and moisture control in basements or crawlspaces are key. Pay attention to grading, gutters and downspouts, air and vapor barriers, and proper insulation. These details help prevent rot, mold, and freeze-related damage later.
Local projects include custom builders and regional or national production builders. Warranty terms and responsiveness can vary. Ask your builder for the full warranty package in writing early in the contract phase, and confirm how to submit items during and after construction. The NAHB offers general guidance on builder warranties that can help you understand common coverage structures.
The pre-drywall walkthrough: your best leverage
A pre-drywall walkthrough happens after framing, roof sheathing, windows, and doors are in place and after rough plumbing, electrical, and HVAC runs are installed. It occurs before insulation and drywall. This is your best chance to see what will soon be hidden behind walls and to confirm that the work lines up with the plans and specs.
Bring your plans and finish schedule, a flashlight, a tape measure, and a phone for photos and videos. Wear closed-toe shoes and follow site safety rules. Use a simple checklist so you move room by room and system by system without missing details.
What to check at pre-drywall
- Structural framing: Look for correct header sizes at windows and doors, proper joist and truss placement, and engineered beams installed per plan.
- Roof and sheathing: Check roof deck fastening, underlayment, and flashing at penetrations and roof-to-wall transitions. Confirm kick-out flashing where roofs meet walls.
- Weather barrier and flashing: Confirm that house wrap is lapped correctly and seams are taped. Inspect window and door flashing for clean, continuous coverage.
- Rough plumbing: Look for correct drain slopes where visible, clean routing of vent stacks, sealed penetrations, and a known location for the main water shutoff.
- Electrical: Confirm safe wire routing, box placement, service panel location, and planned GFCI/AFCI protection where required.
- HVAC: Check duct runs, return and supply placement, air handler location, and condensate drain routing. If gas lines are present, confirm planned combustion air and venting.
- Air sealing and fire blocking: Look for sill seal, sealed top plates and penetrations, and proper fire blocking where required, especially at stairs and garage interfaces.
- Site drainage: Walk the lot. The rough grade should slope away from the foundation.
Should you hire a third-party inspector?
Most buyers benefit from a third-party pre-drywall inspection. An ICC-certified home inspector or a trades specialist can identify code issues or deviations from plans. For directories and checklists, review InterNACHI’s resources. Costs vary by provider and home size. Budget for both pre-drywall and final inspections if your builder does not provide them.
The final walkthrough: test everything
Your final walkthrough should occur after the builder finishes work and before closing. This is your chance to test systems, document cosmetic issues, and set a clear punch list. Try to schedule it several days before closing to allow time for repairs.
Systems and room-by-room tests
- HVAC: Run heating and cooling at normal setpoints. Confirm the thermostat works, listen for unusual noise, and check the condensate drain and pan. Ask for startup or service reports if available.
- Plumbing: Run hot and cold water at multiple fixtures. Check for leaks at sinks and toilets, look for slow drains, flush toilets, and test shower diverters. Confirm water heater operation and safe gas appliance function if applicable.
- Electrical: Test every light switch and outlet. Check exterior and garage lighting, GFCI and AFCI protection, and accurate labeling in the electrical panel. The main disconnect should be accessible.
- Appliances: Test the range, oven, dishwasher, microwave, and disposal. Verify proper venting and look for any scratches or dents.
- Doors and windows: Open and close every door and window. Check locks, weatherstripping, thresholds, and any visible glass scratches. Confirm exterior caulking is complete and clean.
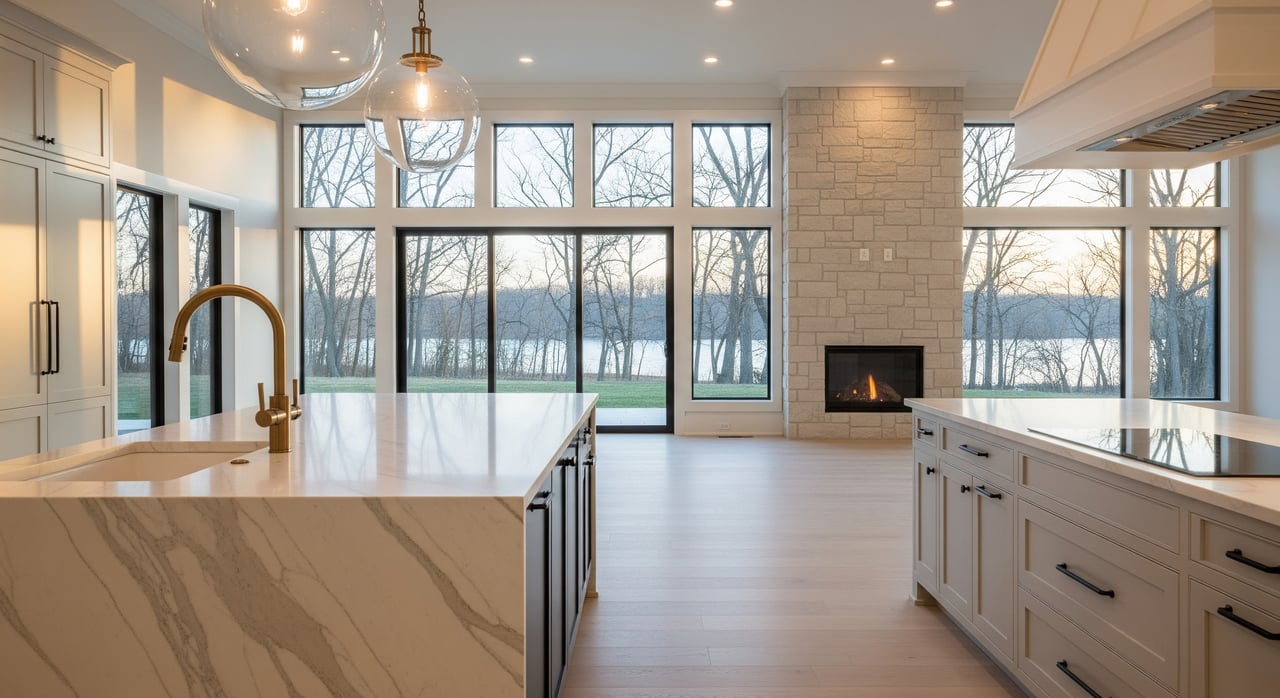
- Interior finishes: Look for paint touch-ups, nail pops, trim gaps, grout and caulk continuity, and chips on counters or floors. Document cosmetic items with photos.
- Garage: Test the door opener and safety reversal. Confirm proper fire separation between the garage and living space.
- Safety devices: Confirm smoke and CO alarms are installed in required locations and function as intended. Handrails and guardrails should be secure.
- Exterior and site: Check final grading away from the foundation, downspout extensions, driveway and walkway condition, and landscaping per contract. Confirm site cleanup.
Before you leave, request equipment manuals, warranty registration steps, and any available startup reports. Ask for the county’s final inspection sign-off documentation from the builder or confirmation that it has been approved.
Common punch-list items
Many punch-list items are routine, while some point to workmanship or installation issues. Document them all clearly.
- Structural and framing: Missing nailers, misaligned members, or incomplete fire blocking.
- Exterior envelope: Window or door flashing gaps, house wrap not lapped or taped correctly, exposed roof fasteners, or misaligned shingles.
- Insulation and air sealing: Missing batts, compressed insulation around openings, unsealed penetrations, or an unsealed attic hatch.
- Plumbing: Leaks at valves or fittings, slow drains, missing cleanouts, or inconsistent hot water delivery.
- HVAC: Loose ducts, poor airflow at registers, missing secondary drain pans or drains.
- Electrical: Flickering fixtures, unlabeled or missing breakers, missing GFCI protection where required, or improperly located alarms.
- Interior finishes and cabinetry: Paint drips or shadows, trim gaps, sticking doors, backsplash alignment issues, or grout cracks.
- Appliances and built-ins: Scratches, missing range anti-tip brackets, dishwasher leaks, or improper dryer venting.
- Site and hardscape: Low spots that collect water, driveway cracks, or walkways that do not slope away from the home.
Protect your warranty and paper trail
Ask for the full warranty package in writing before major milestones. Coverage varies by builder. The NAHB offers general insights on typical coverage categories so you know what to expect, but rely on your builder’s written terms for exact rules and timelines.
Document everything at both walkthroughs. Use timestamped photos and short videos with clear narration. Build a room-by-room punch list that includes the exact location and a simple description. Submit the list using the method outlined in your contract, such as a portal or email. Keep copies of every message and photo.
Report issues within the time windows in your warranty. If a problem is hidden and appears later, follow the notice procedure as soon as you discover it. If the builder does not respond, you can ask the county about code concerns through the King George County site, but remember code enforcement addresses code items, not contract disputes.
If a dispute escalates, keep communication polite, written, and time stamped. Consider mediation resources or contact the Virginia Office of the Attorney General Consumer Protection for guidance. For serious structural concerns, consider hiring an independent structural engineer to document the issue.
King George add-ons: radon, wells, and termites
- Radon: The EPA recommends testing in all homes. Ask the builder about rough-in for mitigation and consider a test after occupancy. See the EPA’s radon guidance for options.
- Private wells: If your property uses a well, test water for bacteria, nitrates, and other contaminants before closing. Review the Virginia Department of Health for well water testing guidance and local program contacts.
- Termites: Virginia has active termite risk. Some loans require a wood-destroying organism report. Ask the builder for any pre-treatment documentation and warranties.
Quick checklists you can print
Pre-drywall checklist
- Confirm pre-drywall appointment and bring plans, specs, flashlight, tape measure, and camera.
- Verify locations of plumbing stacks, electrical boxes, and HVAC runs match plans.
- Inspect house wrap, window and door flashing, roof sheathing, and kick-out flashing.
- Look for air sealing at sill plates, top plates, and penetrations. Confirm fire blocking.
- Walk the lot and confirm preliminary grading slopes away from the foundation.
- Capture photos and note any deviations. Send a written summary to the builder.
Final walkthrough checklist
- Schedule several days before closing. Bring your punch-list template and blue painter’s tape for marking spots.
- Run HVAC in heat and cool modes. Check thermostats and condensation lines.
- Run hot water at multiple fixtures and check for leaks. Flush all toilets.
- Test every outlet and switch. Confirm GFCI and AFCI function. Check panel labels.
- Open and close all doors and windows. Check locks, screens, thresholds, and weatherstripping.
- Inspect paint, trim, flooring, tile, and countertops for touch-ups or repairs.
- Test all built-in appliances. Confirm venting and look for dents or scratches.
- Walk the exterior: grading, gutters and downspouts, driveway, walkways, and landscaping per contract.
- Request manuals, warranty registration steps, and county final inspection sign-off.
Sample punch-list email template
Subject: 123 Maple Lane - Final Walkthrough Punch List - 6/18
Hello [Builder Rep Name],
Thank you for today’s walkthrough. Attached is our punch list with photos. Items are organized by room with specific locations. Please confirm receipt and an estimated schedule for repairs.
- Entry: Front door - top right corner - weatherstripping gap. Photo 01.
- Kitchen: Dishwasher - left side - small leak during test cycle. Photo 02.
- Kitchen: Backsplash - behind range - grout gap at outlet. Photo 03.
- Primary Bath: Shower - diverter not switching fully to shower head. Photo 04.
- Bedroom 2: Window - lower left sash - scratches on glass. Photo 05.
- Exterior: Right side yard - low spot holding water near downspout. Photo 06.
We appreciate your help in completing these items. Please let us know if you need access.
Best regards, [Your Name] [Your Phone]
Local help and next steps
You do not have to navigate new construction alone. If you want referrals to trusted local inspectors or help coordinating builder timelines, reach out. A responsive local agent can keep you on track and protect your interests from contract to close.
If you are building or buying new in King George, connect with Cat Brown to set up your walkthrough plan and get local inspector referrals.
FAQs
What is a pre-drywall walkthrough in King George?
- It is a site visit after framing and rough-ins are complete but before insulation and drywall, giving you a clear view of structure, wiring, plumbing, and air sealing.
Do I need a third-party inspector for new construction?
- It is recommended for most buyers because inspectors can spot code or workmanship issues early; review InterNACHI’s resources and budget for pre-drywall and final checks.
How do builder warranties typically work on new homes?
- Coverage varies by builder, so get the written package early; the NAHB offers general guidance, but follow your contract for timelines and how to submit items.
What if my builder does not fix punch-list items on time?
- Keep communication polite and written, escalate per your contract, and consult the Virginia Office of the Attorney General Consumer Protection for guidance if needed.
Should I test for radon in a new King George home?
- Yes, the EPA recommends testing all homes; ask about mitigation rough-ins and consider a short-term test after occupancy.
What documents should I receive at the final walkthrough?
- Ask for equipment manuals, warranty registration steps, any available startup reports, and confirmation of the county’s final inspection sign-off per your builder’s process.